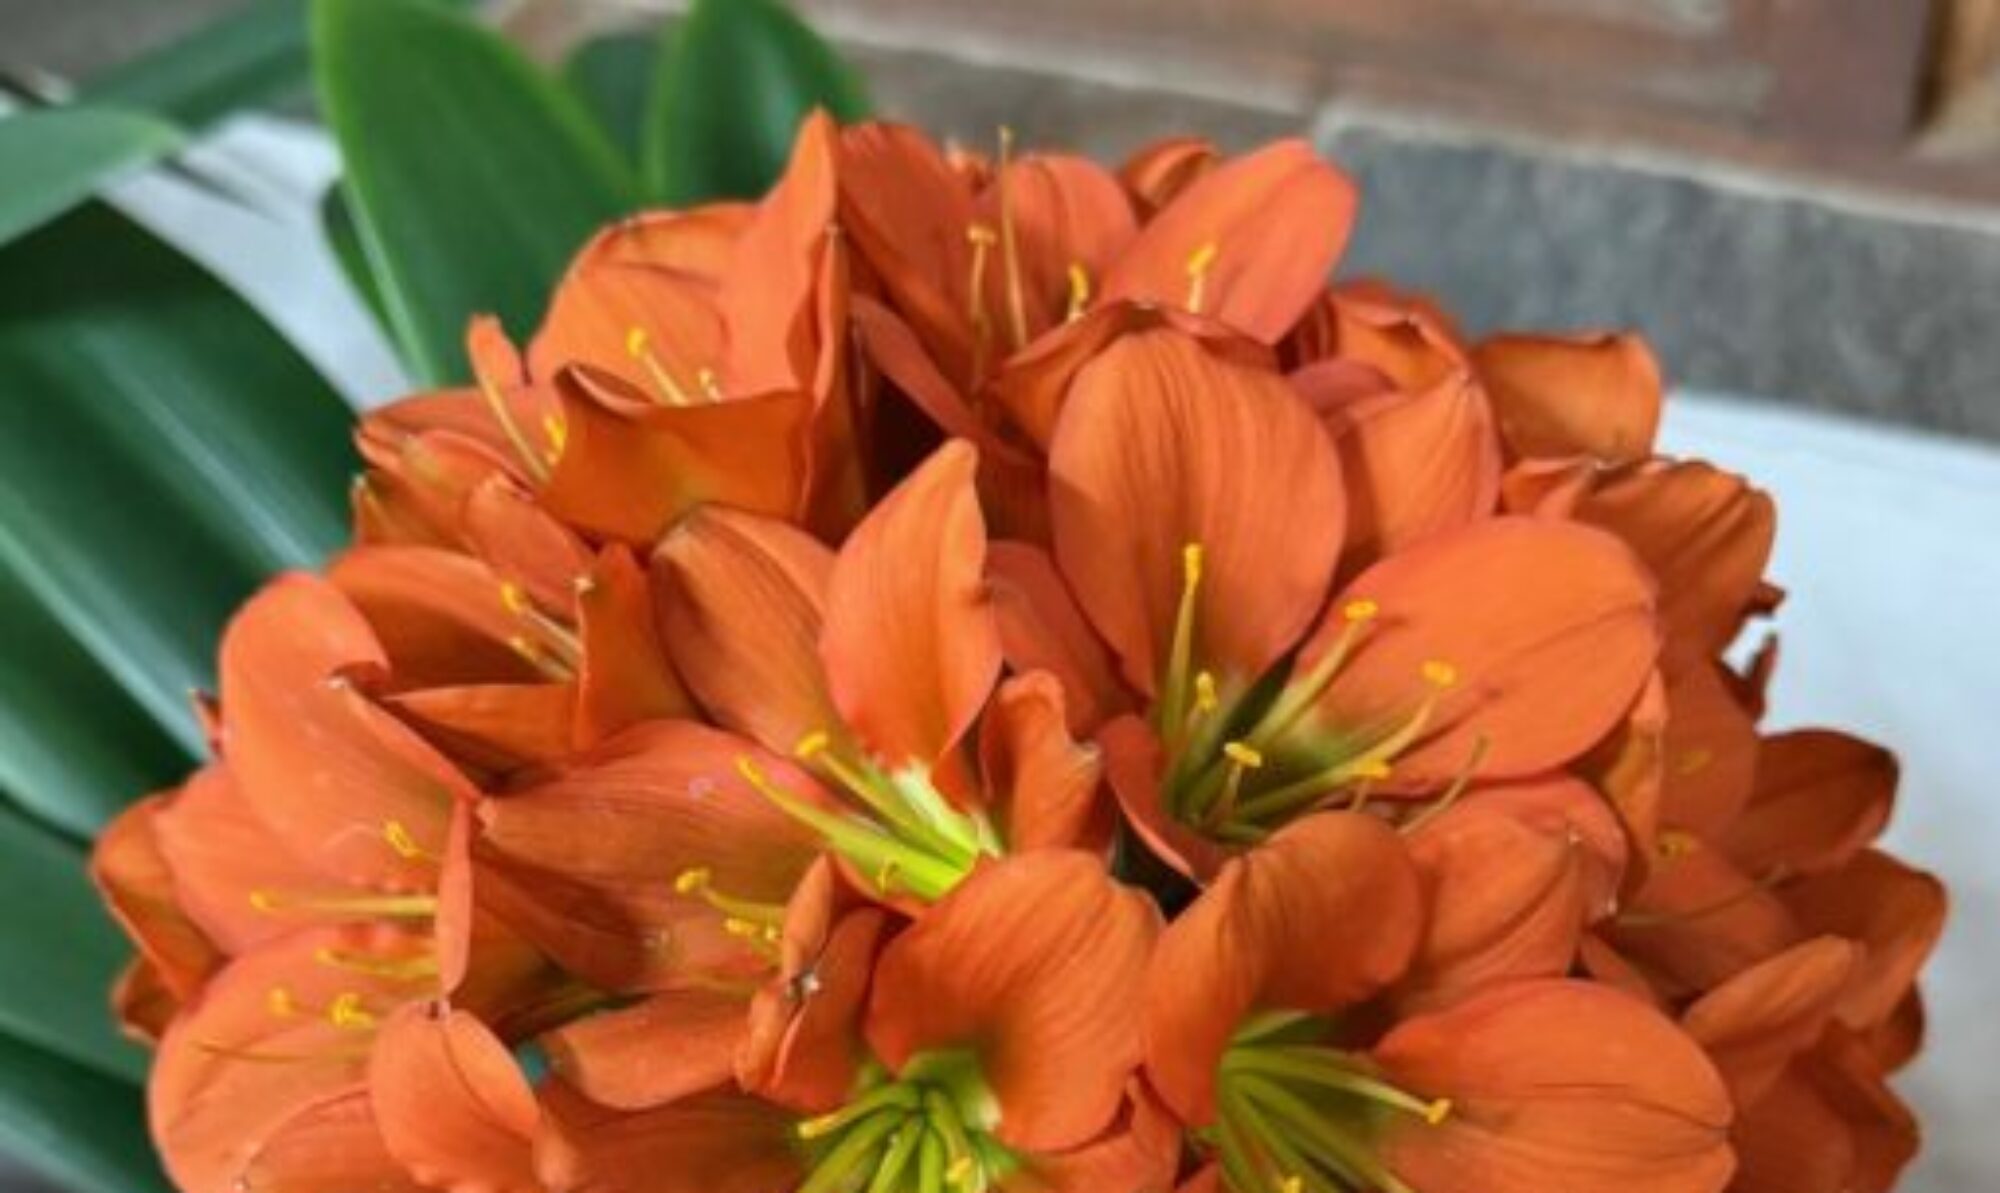

What is the correct time to harvest your Clivia berries? Commercial Clivia seed sellers send there seed to purchasers in May, June and July. (Southern hemisphere, mid winter)
Early harvesting, when the berries have not developed their full colour, still a bit green on an orange berry, may result in poor germination results.
When the berries have coloured up well, the berries will feel soft to the touch.
Cleaning the seed is probably the most important part of the germination process and will ensure that pests, particularly fungal spore numbers on the seeds are limited.
Use a warm water bath with a little ‘dishwasher ‘ solution added. Po the berries open and place them in the warm water bath.
The seeds are easily freed from the pulp within the berry. Carefully remove the membrane around the seeds as this may trap fungal spores. Once the seeds are clean, rub with a dry towel to ensure the removal of any residual film on the seed. An added safety tip is to soak the dried seed in a dilute (5 ml in 1 litre) plain hypochlorite (Jik) solution. This is an excellent antifungal solution. Soaking for ten minutes is fine then rinse this solution off with fresh water before placing in germinating trays or pots.
When buying seed, the fresher – more recently harvested – the better. You may store them in the fridge but their viability will decrease with time.
Method of germination.
There are as many ways to germinate as there are growers. Many claim 100% success rates, but expect some losses to failure of germination or to infection – usually a fungal cause.
1. On germination soil – after wetting the soil and allowing for drainage of any excess water, lightly press the seed into the soil, but don’t bury them. Cover the seedling tray or pot with a plastic bag and seal. Place the bag in a warm place and observe what is happening. The more often the bag is opened the greater the chance of fresh fungal spores entering the bag. Check the bag every two weeks for moisture content and for any infection.
2. Zip lock bags are an easy way to germinate seeds and they do not take up a lot of space.
Moist paper towelling is used to enclose the seed and then place in a Zip lock bag. Excessive water in the bag may lead to infections. Drying out may be a problem if not regularly checked.
3. Using firm plastic containers with moist silica sand (if river sand is used please rinse well to remover the dust) kept warm is also a successful method. The containers may also be stacked to take up less space.
Neglecting to inspect the germinating seed may also lead to problems. Excessive dryness of the medium or the presence fungal growth – looks like cotton wool. If fungal growth is apparent, remove the affected seed and some of the adjacent soil. Some prefer fresh soil – fine if small quantities of soil are used for each group of seeds. Wash the affected seed, use dilute hypochlorite solution and place the seed in a separate container if possible.
b) The inspection should also check for any roots of the seedlings that are not entering the germination medium – make a hole and place the roots in that hole.
c) Feeding the new seedlings are not necessary until the attached seed falls off.
Planting out the germinating seedlings:
Many gowers move the germinated seedlings when the leaf is 2cm long and place them either in individual small pots or in communal pots.
Potting-on then depends on plant growth and the size of pots in which the seedlings were placed. Plants should be able to be flowered in 20cm pots.
Watering of the seedlings. The Clivia plants are evergreen and the rate of growth slows in the cold winter months. Your local rainfall will also modify the amount of water given to plants. Check the soil on the surface of the pot to indicate the water requirements.